Exporting graphics
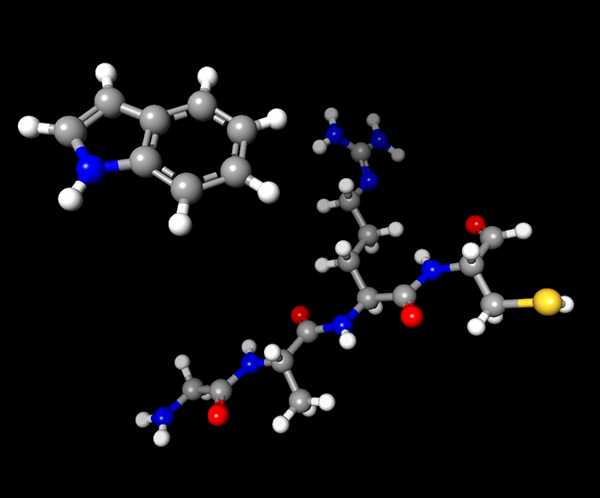
| Sirius has two mechanisms for saving a 3D scene as an image. Exporting graphics using internal Sirius rendering First, you can export an image using the built-in rendering pipeline of Sirius. To export the current view in the 3D workspace as graphics, select File->Export as image... You will be asked to specify the desired resolution, with three options: screen, 150 dpi and 300 dpi. Once the resolution is entered, you will be presented with a file save dialog, which also serves for selection of the graphics format to be used. The resulting image in PNG or JPG format will be saved to the selected file. An example of a file created this way is below.
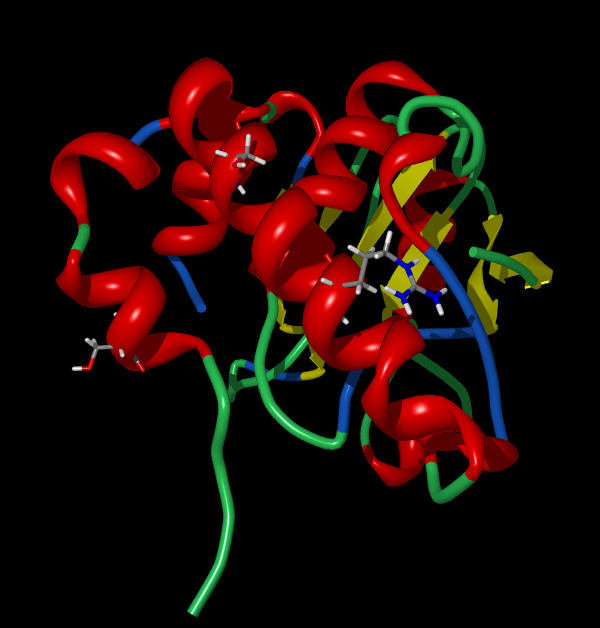
The other possibility is using the bundled POV-Ray - a ray-tracing software capable of producing photographic quality graphics with drop shadows, very smooth surfaces and overall feel of a solid object. This option is available on Windows and Linux running on x86 architectures (PC). Other users can save the scene description in a POV-Ray input file and then use it with an independently installed copy of POV-Ray to finish the rendering. POV-Ray is freely downloadable and can be relatively easily installed and used as a desktop application. Once you have the desired scene, select File->Create ray-traced image... You will be presented with a dialog where you can enter the desired pixel dimensions of the resulting file. By default, the size is equal to the screen. You can specify any values, but keep in mind that larger resolutions require more time to render. Once you click OK, rendering will start and a "Processing..." message will appear. Depending on the complexity of the scene and its size, as well as the graphics hardware, it may take from several seconds to several minutes. Once finished, the generated image will be displayed in an image preview panel next to the main application window. At this point, you will be able to save the image in PNG or JPG format. A sample ray-traced image is shown below.
For ribbons, quality of the ray-traced elements will depend on the ribbon quality set in the Sirius environment, so the higher the ribbon quality, the better it will look in the ray-traced image. Please note, however, that increasing ribbon quality dramatically changes time needed to render the scene. Therefore, higher quality settings should only be used for final rendering. Also note that background color in the rendered image copies that of the 3D workspace. Therefore, to change the image background, simply use Preferences (Structure Viewer tab) to change background color.
|